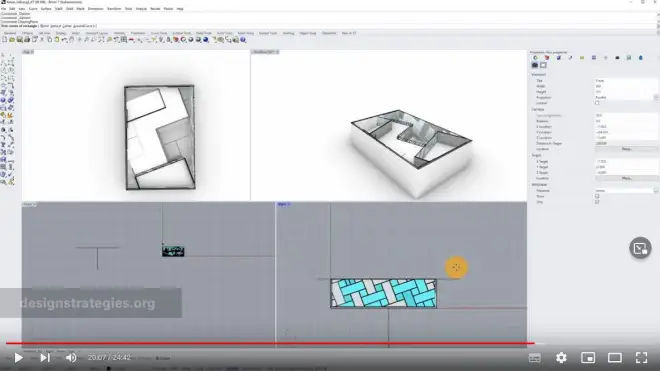
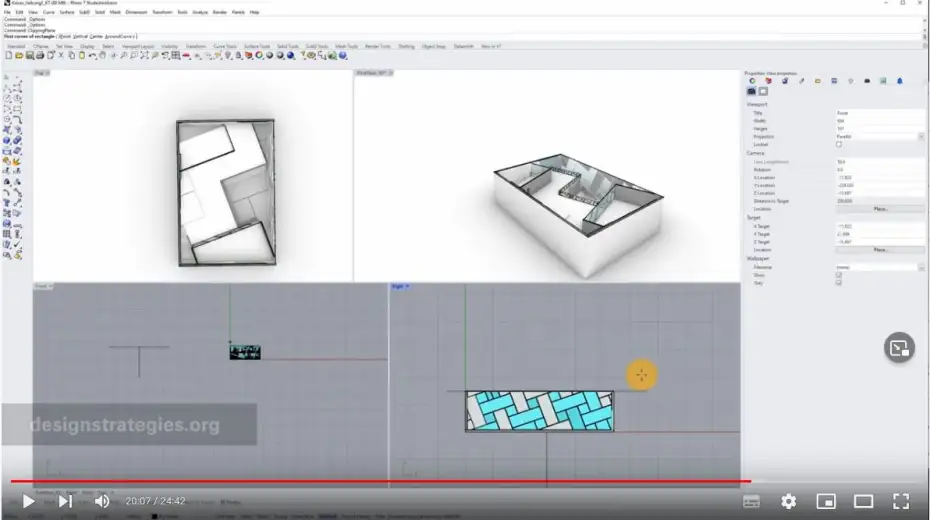
DE2: Visualisation in Rhino for conceptual design Empfehlen Visualisation in Rhino for conceptual design Close/open videochapter By playing this video, you load content from youtube. Please accept youtube in your privacy settings. Change privacy settings Different kind of visualisations: floorplan, sectioning0:0 min Material: How to set up materials and apply to a good layer structure. Glas material as “Custom-Material”. Glas-Material for Raytracing.0:31 min Rendering: Setup Render dimensions, show safe frame and adjust “Capture to file”5:47 min Lighting: Use “ambient occlusion” for fast visualisation instead of scene light with sun-light. Further Render-setups: show edges.9:10 min Camera: adjust camera lens length. Save “Name view” for different view points. Show camera in viewport for better adjustment.10:11 min Floorplan and sections: use “Clipping plane” for sectioning. Change thickness of clipping plane-lines.15:04 min Rendering: capture to file, save as .png or .jpg.20:51 min Photoshop: adjust renderings and fill wallthickness with color22:09 min Leave a Reply Cancel replyYou must be logged in to post a comment.